Crafts For Kids

Art with Alyssa: How to Make Upcycled Flower Suncatchers
Creating flower suncatchers is a fun spring and summer project that also makes a sweet handmade Mother’s Day gift. Press dried flowers between two layers of clear plastic from an upcycled con . . .

Art with Alyssa: Nature Weaving
Supplies
Twigs or sticks, 6–12” long
Garden clippers
Scissors
Twine or yarn
Variety of grasses, flowers and plants with long stems. (I used buttercup, euryops, geranium, lavender, rosemar . . .
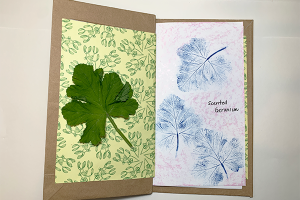
Art with Alyssa: How to Make a Nature Journal
Creating and maintaining a nature journal is a fun, relaxing and educational activity for children (and adults) that encourages time outdoors and connection with nature. There is no right way to kee . . .

Art with Alyssa: Nature Pendants
Spring is an excellent time for nature-inspired art projects for kids. This month’s “Art with Alyssa” project provides instructions to make nature pendants, which make wonderful gifts for . . .
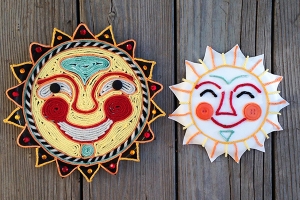
Smiling Sun Craft
Brighten up a spring or summer day with a smiling sun craft made with colorful yarn and glue. This project also makes a festive Cinco de Mayo decoration. Get creative and make your own unique design . . .
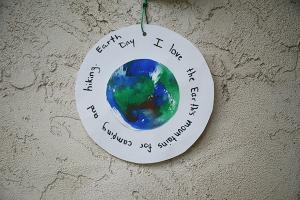
Art with Alyssa: Earth Monoprints
Celebrate Earth Day by doing an art project at home and participating in local Earth Day events around San Diego.
Discussion Points for Teachers/Parents
How to take care of the planet—Reduce, . . .
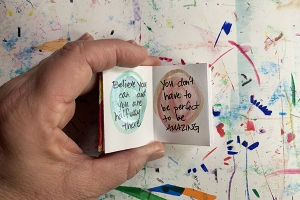
Art with Alyssa: DIY Miniature Book
It’s really fun to craft your own mini books. They make thoughtful gifts for birthdays, Mother’s Day, Father’s Day and more, or a unique place to record your own ideas and quotes. There is lot . . .
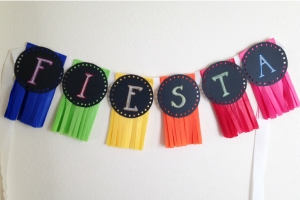
Make a Fiesta Banner
Make a festive decoration with this quick and easy DIY project for your Cinco de Mayo celebration at home.Supplies 6 sheets of tissue paper (10” x 20”)Several sheets of black paper or cardstockR . . .

Art with Alyssa: Star Wars Themed Art Projects
These fun Star Wars-inspired art projects require just paint, cardboard, egg cartons and a little imagination to create three-dimensional portraits of Baby Yoda, Boba Fett and BB-8. They serve as wh . . .

Mother's Day Mason Jars
Show mom how much she is appreciated this Mother’s Day with a decorated mason jar full of love!
Supplies
Empty mason jar with lid
Scraps of colored/patterned paper
Pieces of ribbon or strin . . .
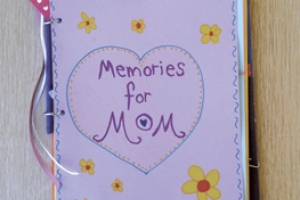
Mother's Memory Book
Make Mom extra happy this Mother's Day with the gift of photos, messages and mementos organized into one handmade book from the kids.
Supplies: Kids’ school papers, letters, artwork, cards, etc.2 . . .

Art with Alyssa: Marble Painting
Marble painting is a great art project that encourages eye-hand coordination and muscle control. It’s fun to experiment with different colors and designs and it’s easy to adapt the project . . .
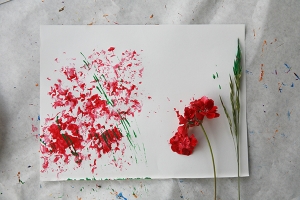
Art with Alyssa: Nature's Paintbrushes
Create beautiful outdoor art using homemade paintbrushes from plants and items found in nature.Tips for Teachers/ParentsTeach children to respect living plants and only use found or discarded flower . . .
Raindrop Drip Painting
We don’t know many kids who can resist jumping in rain puddles. And since we don’t get rain puddles too often in San Diego, it’s a particularly unique and special activity! Why not commemorate . . .