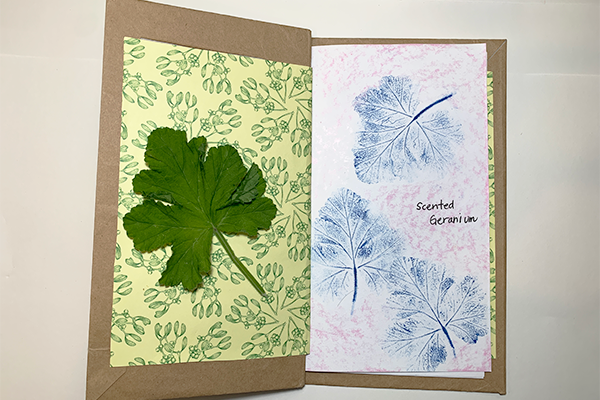
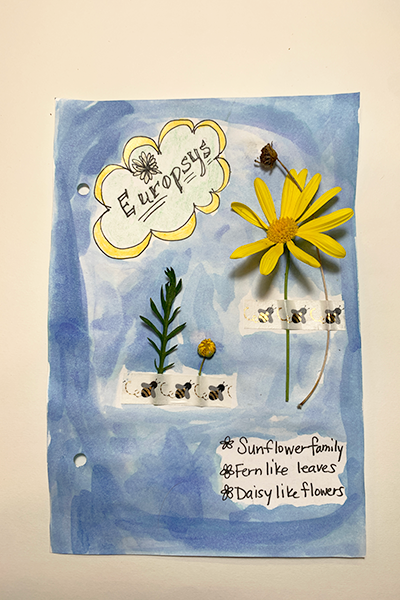
Creating and maintaining a nature journal is a fun, relaxing and educational activity for children (and adults) that encourages time outdoors and connection with nature. There is no right way to keep a nature journal as it is up to interpretation by each participant. Some ideas are to observe wildlife and write down (or draw) what you see, record thoughts about cloud formations, write poems, draw/paint pictures of things seen outside (or imagined), sketch plants and animals, create checklists of things to do outdoors, glue or tape flowers found on the ground, make leaf rubbings, or take a sensory walk and record what you see, smell, hear and touch.
Other ways to record information in your nature journal:
- Write about where you are and who you are with.
- Look at a weather app and note the temperature in your notebook.
- Take a color hike and notice things that are different colors.
- Use washi tape or glue to add elements like a brochure or map.
- Include photos of your adventures.
Use a purchased notebook or create your own using the supplies and directions below.
Supplies
To make notebook:
10–12 pieces of white construction paper, cut in half
2 pieces of thin cardboard or heavy cardstock ½ inch larger (on all sides) than your paper
2 decorative pieces of paper one inch smaller (on all sides) than your cardboard
Glue or glue stick
Ruler
Pencil with eraser
Hole punch
Twine or ribbon
Clear or washi tape
Scissors
Optional items for journal contents:
- Watercolors to paint scenes
- Pencil, markers or colored pencils to draw images
- Unwrapped crayons for leaf rubbings
- Nature objects found on the ground
- Maps, photos, ticket stubs, etc. from your adventures
- Stickers, cut-out images or photos
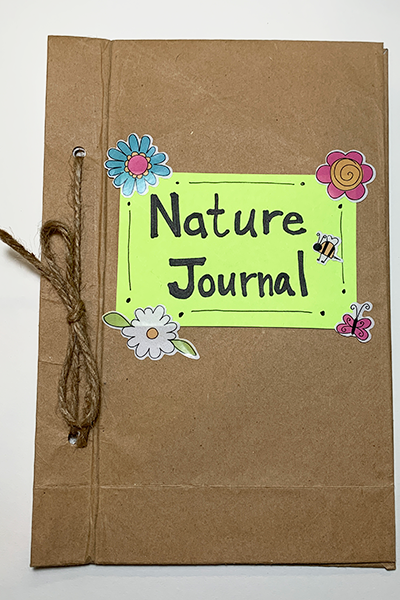

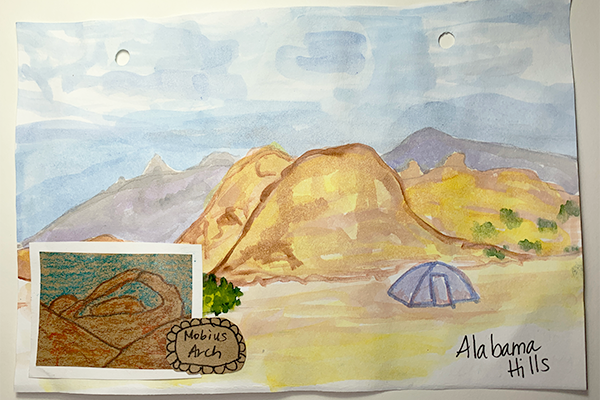
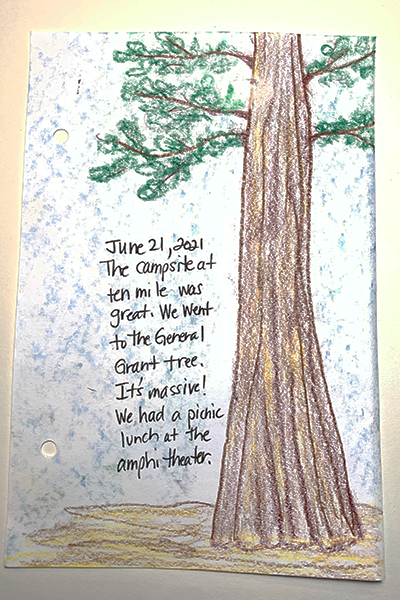
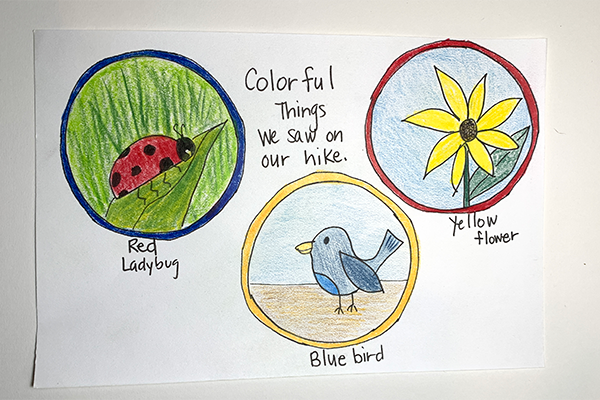
Directions
- Glue a piece of decorative paper on one side of each piece of cardboard/cardstock. These are the covers of your journal.
- Facing the decorative paper towards each other (plain sides outward), carefully punch two holes on the left side, two inches from the top, two inches from the bottom and ½ inch from the edge.
- Punch holes in the white paper to match the covers. Stack the papers inside the covers, thread ribbon or twine through the holes and tie a bow in front.
- Decorate the journal cover as desired.
- Your assembled book is ready for notes, journal entries, drawings, leaf rubbings and more.
Alyssa Navapanich is a nationally recognized art educator who teaches art to elementary school kids in East San Diego County. She is the author of San Diego Family Magazine’s “Art with Alyssa” column.
If you like this project, you may also like our Paper Bag Memory Book project:
www.sandiegofamily.com/for-the-kids/crafts-for-kids/recycled-craft-memory-book
_____________


