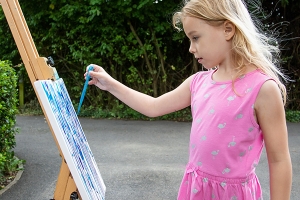
Creating art with frozen paint cubes (ice painting) is a super fun summertime or warm-weather activity. It’s also a great party activity for a Frozen-themed birthday party (or any winter-themed celebration)! Our Art with Alyssa columnist shares instructions on how to create ice paintings below.
SUPPLIES
- Tempera or finger paint in bright colors
- Ice cubes trays or small paper cups
- Popsicle sticks, cut in half (one per color)
- Plastic wrap
- Scissors
- Paint
- Water
- Dish soap
- Construction paper or mixed media paper
- Something to cover work area
DIRECTIONS
- For thick creamy paint, you can simply squeeze paint directly into ice cube trays. Or, for thinner paint that looks more like watercolor, use 1 Tablespoon water, ½ Tablespoon dish soap, and 1½ Tablespoons paint. Water thins paint; adding dish soap helps with clean up. Mix well then pour into the ice cube tray. Note: For taste-safe paint, you can use instant vanilla pudding tinted with food coloring. The colors will be very soft like pastels.

- Cover the tray tightly with plastic wrap. Cut a small slit into the plastic above each ice cube tray section and insert ½ popsicle stick into each opening. The plastic wrap helps the popsicle sticks stay upright as the paint freezes.
- Place tray in the freezer overnight.

- The following day, twist the trays to release the frozen cubes as you would ice cubes. If they do not release easily, set the bottom of the tray in water for 30 seconds or so.

- When ready to paint, allow the cubes to sit out for a few minutes first to soften slightly. Paint as desired.


Alyssa Navapanich is a nationally recognized art educator who teaches art to elementary school kids in East San Diego County. She is the author of San Diego Family Magazine’s “Art with Alyssa” column.
____________

