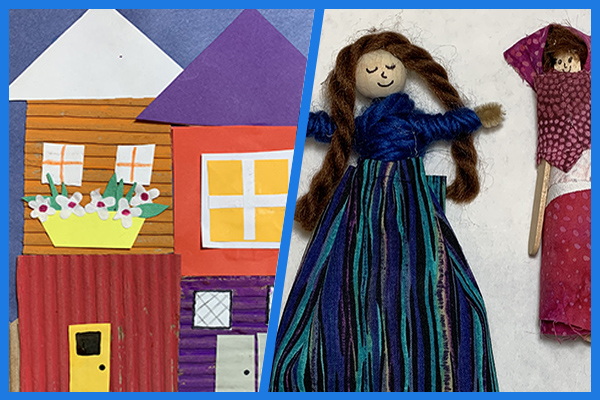
Celebrate Hispanic Heritage Month with kids by taking time to learn about Hispanic and Latino cultures and connecting lessons with engaging and fun art projects. Whether you’re a parent, teacher or group leader, you’ll love the two projects our "Art with Alyssa" columnist is sharing in honor of Hispanic Heritage: La Boca Houses of Argentina and worry dolls of Guatemala.
PROJECT ONE: LA BOCA HOUSES OF ARGENTINA
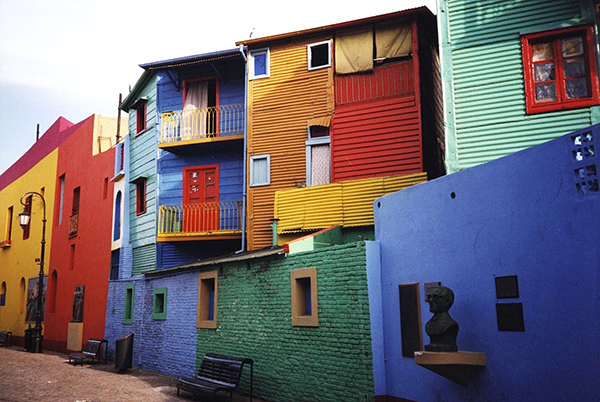
The lesson: La Boca is a neighborhood located in Buenos Aires, Argentina, where brightly colored houses line the street (El Caminito). It is said that early settlers were not able to afford paint and materials for homes, so they used leftover paint and materials from the shipyard. The buildings are colorful and made with materials such as corrugated metal. Photo credit: Ester Inbar
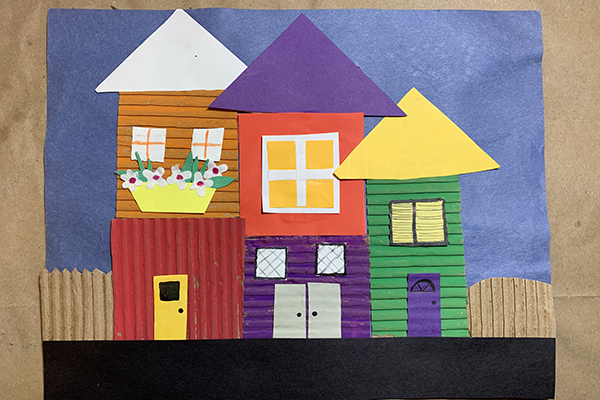
Gather the kids to create La Boca Houses of Argentina. They love creating their own neighborhood scenes using colorful paper scraps, cardstock and corrugated cardboard.
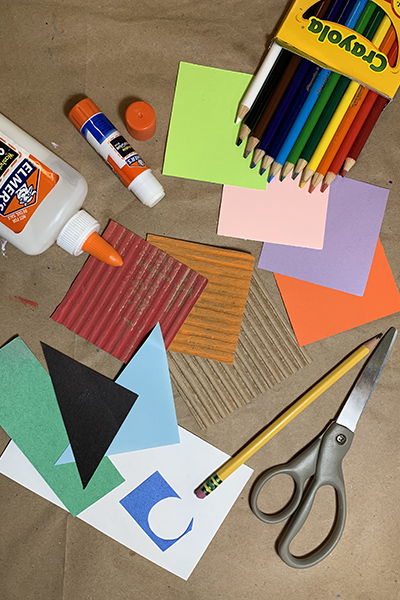
Supplies
- 9” x 12” construction paper (or cardstock) in color of your choice
- 4–6 squares of 3” paper
- Pieces of corrugated cardboard painted in bright colors
- Colorful paper scraps
- Pencil
- Scissors
- White glue or glue stick
- Crayons, colored pencils or markers
Directions
- Cover your workspace with an open paper bag, placemat or plastic cloth.
- Pro art tip: Arrange collage pieces before gluing so you can make changes, if needed.
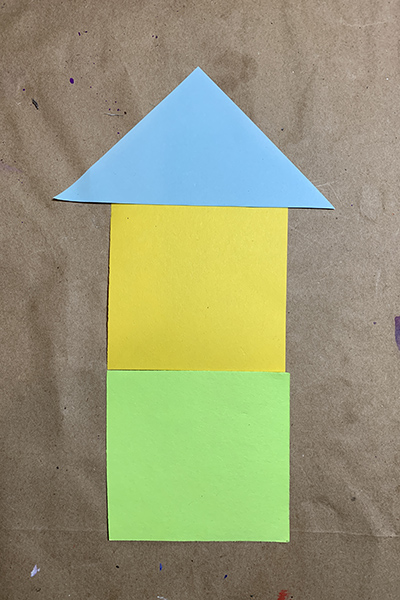
- With your 9 x 12 piece of paper in front of you (horizontally), arrange two paper squares to make a tall house shape. Add a triangle for a roof, overlapping slightly to glue together (when ready). Note: You could also cut rectangles for the house about 3 inches wide and 4–6 inches tall then add a triangle roof.
- Make 3–4 houses to fit across the paper horizontally, using cardstock and some corrugated cardboard for dimension.
- Once the houses are arranged across the page the way you like, glue them down.
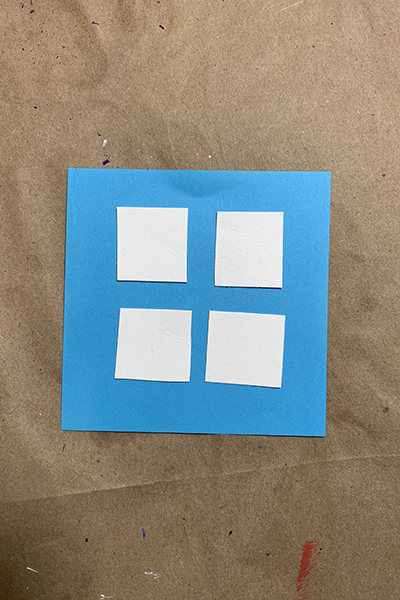
- Adhere embellishments such as windows and doors. Note: Windows can be small squares with plus signs (drawn or cut paper) or diagonal lines drawn inside the square. They could also be small squares glued inside a larger square. Make doors out of rectangles; draw knobs and windows or adhere cut paper.
- Consider adding a road, sidewalk, fence, flower box or other details using scraps of paper cut into the shapes you like or using markers, crayons or colored pencils.
PROJECT TWO: WORRY DOLLS OF GUATEMALA
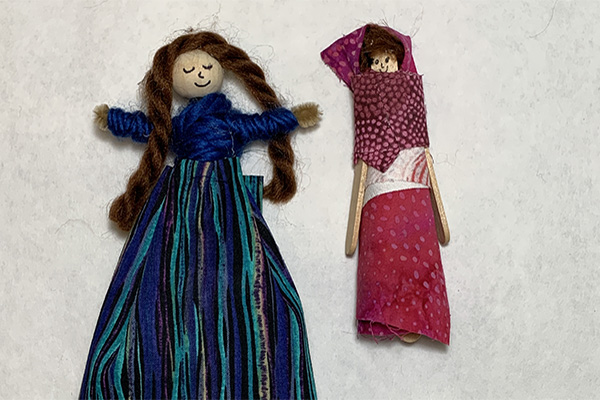
The lesson: Worry dolls have been created by the indigenous people of Guatemala for centuries. According to legend, when children (and adults) have worries that keep them up at night, they tell their worry dolls before going to sleep and the dolls do the worrying for them, allowing kids to sleep soundly. A related picture book my students love is “Silly Billy” by Anthony Browne. Another book I recommend is called “The Legend of the Worry Doll” by Terilee Greeff.
Honor Hispanic Heritage Month with family or friends by crafting worry dolls from Guatemala. It will be fun to see everyone’s creative designs! There are directions here for craft stick worry dolls and pipe cleaner worry dolls. Do whichever project you prefer.
Supplies
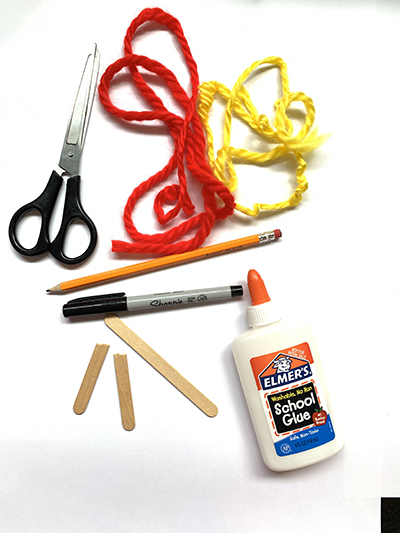
- Two craft sticks (standard size) OR two chenille stems (pipe cleaners) and one 1½-inch wooden bead FOR EACH DOLL
- Brightly colored yarn
- White glue
- Pencil
- Scissors
- Thin permanent markers
- Brightly colored fabric scraps
Pipe Cleaner (chenille stem) Worry Doll Directions
- Cover your workspace with an opened large paper bag, placemat or plastic cloth.
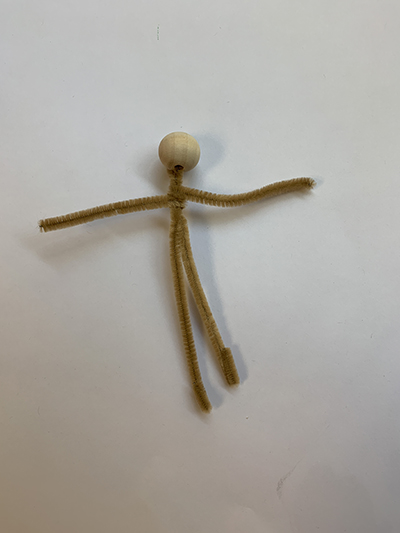
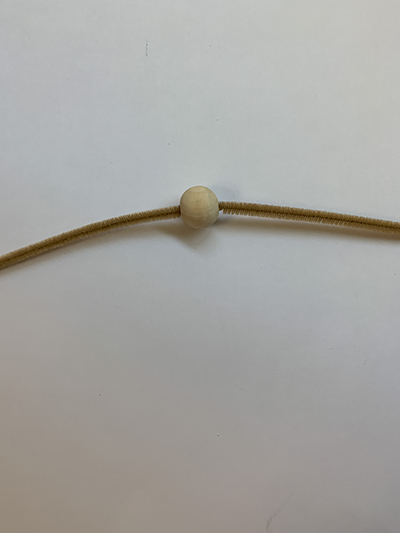
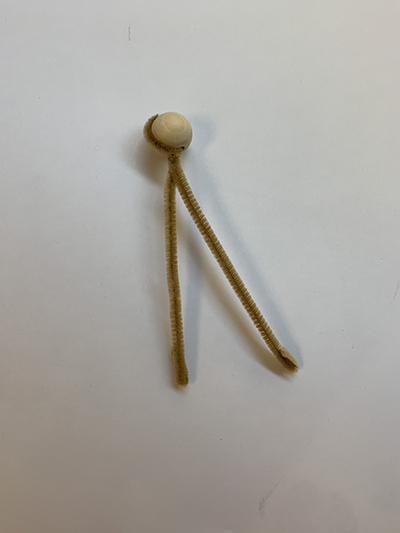
- Insert a chenille stem into a bead pushing the bead to the center of the pipe cleaner. Fold the pipe cleaner over the bead and twist the pipe cleaner under the bead to secure.
- For the arms, cut the second pipe cleaner in half and fold the ends to form hands and feet.
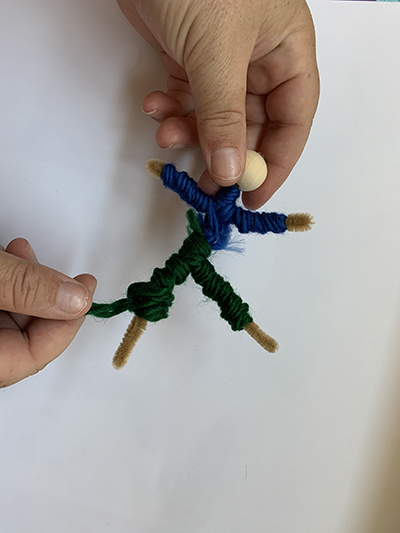
- Wrap yarn (or fabric) around the “body;” under the bead (head) to cover the neck, around each arm (leaving hands exposed) and the torso. To change colors for pants, cut the first yarn and tie it to the new color. Hide the knot by wrapping over it with the new yarn. Continue wrapping around each leg (leave feet exposed) to make pants. See photos for reference.
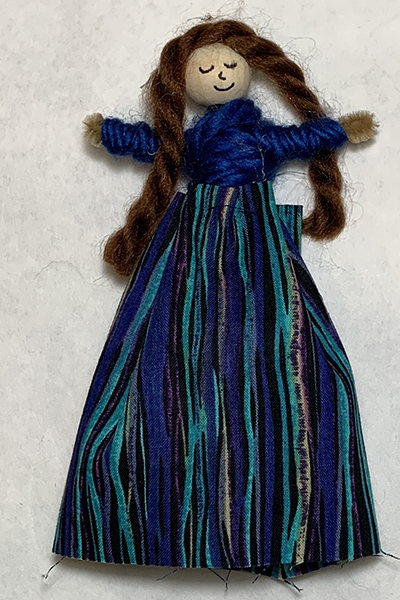
- Using a marker, add a face and other details you choose. Add yarn for hair or fabric for a hat.
Craft Stick Worry Doll Directions
- Cover your workspace with an opened large paper bag, placemat or plastic cloth.
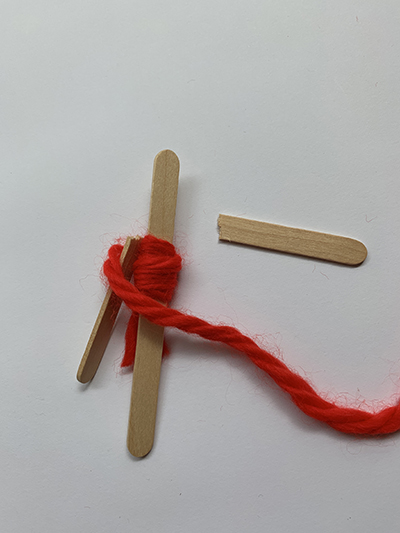
- Break or cut one craft stick in half, ensuring both pieces are as equal in length as possible. These will be the arms of the worry doll.
- Tie yarn (or fabric strips) around the middle of the unbroken craft stick (this will be the doll's waist). Begin wrapping the yarn upward towards the “head” covering the stick as you go, leaving about a one-inch space at the top.
- Align the two halved craft stick pieces along the main stick at the point where the arms should be. Hold the arms in place and wrap the yarn around them to secure them to the body. You may want to add a dab of white glue to help secure them before wrapping. See photos for reference.
- Continue wrapping the yarn tightly around the craft stick, moving up from the arms to the waist. Leave enough room to draw a face. Tuck the end into the last wrap and secure it with a dab of glue.
- Next wrap yarn under the arms, going down to the bottom of the stick. You may leave a space at the bottom for shoes, if you wish. Note: If switching yarn colors, cut the first yarn and tie it to the new color, then hide the knot by wrapping yarn over it. Continue wrapping, changing colors as often as you like.
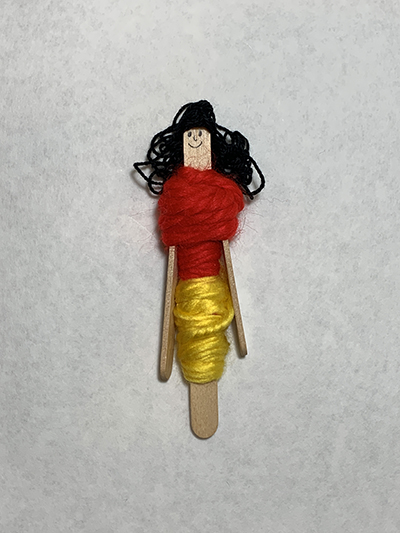
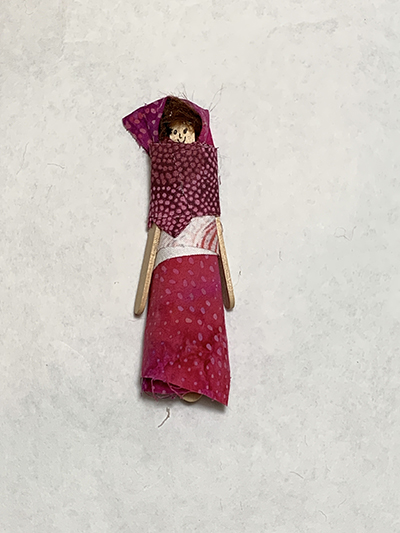
- Once you've wrapped the yarn down to the bottom of the doll, cut the yarn and secure it by pushing it underneath the last wrap and secure with a dab of glue. If you want to add a fabric skirt or other clothing, now is the time to do it. Cut fabric to fit around the doll and secure with glue.
- Use fine tip pens to draw facial features on the craft stick and shoes (optional). Add yarn for hair, if you wish.
Alyssa Navapanich is a nationally recognized art educator who teaches elementary school kids in East San Diego County. She is also the contributor of San Diego Family’s award-winning “Art with Alyssa” column.
Click HERE to find instructions for Alebrijes of Mexico City.
